
Rain boots rarely die of old age. They die of neglect in small, predictable ways. Mud gets left to bake on in the sun, the rubber turns chalky, a hairline crack opens at the crease above the toe, and water finds it on the one morning you are already running late. The fix is not expensive or complicated. It takes a few minutes a week, one thorough session at the end of the season, and a bit of patience about where you leave them to dry.
Rubber is a surprisingly delicate material. It stays flexible because of oils and polymers mixed into it, and those slowly give up when boots are cooked on radiators, baked in the car boot, scrubbed with harsh chemicals or stored crumpled and damp. Treat a decent pair well and you will get several seasons out of it instead of one.
Rinse the Mud Off Before It Sets
Dried mud is abrasive. Every time you flex the boot with grit still caked into the creases, you are grinding that grit into the rubber, and those tiny scratches become the places cracks start. So rinse sooner rather than later, ideally the same day.
Use cool or lukewarm water, never hot. A garden hose, a bucket, or even the kitchen tap is fine. Work the mud off with your hand first, then a soft brush or an old toothbrush for the tread and the seams. A drop of mild washing-up liquid helps with greasy marks, but skip bleach, white spirit, and anything that smells like a workshop. Harsh solvents strip the surface finish and leave rubber dull and dry.
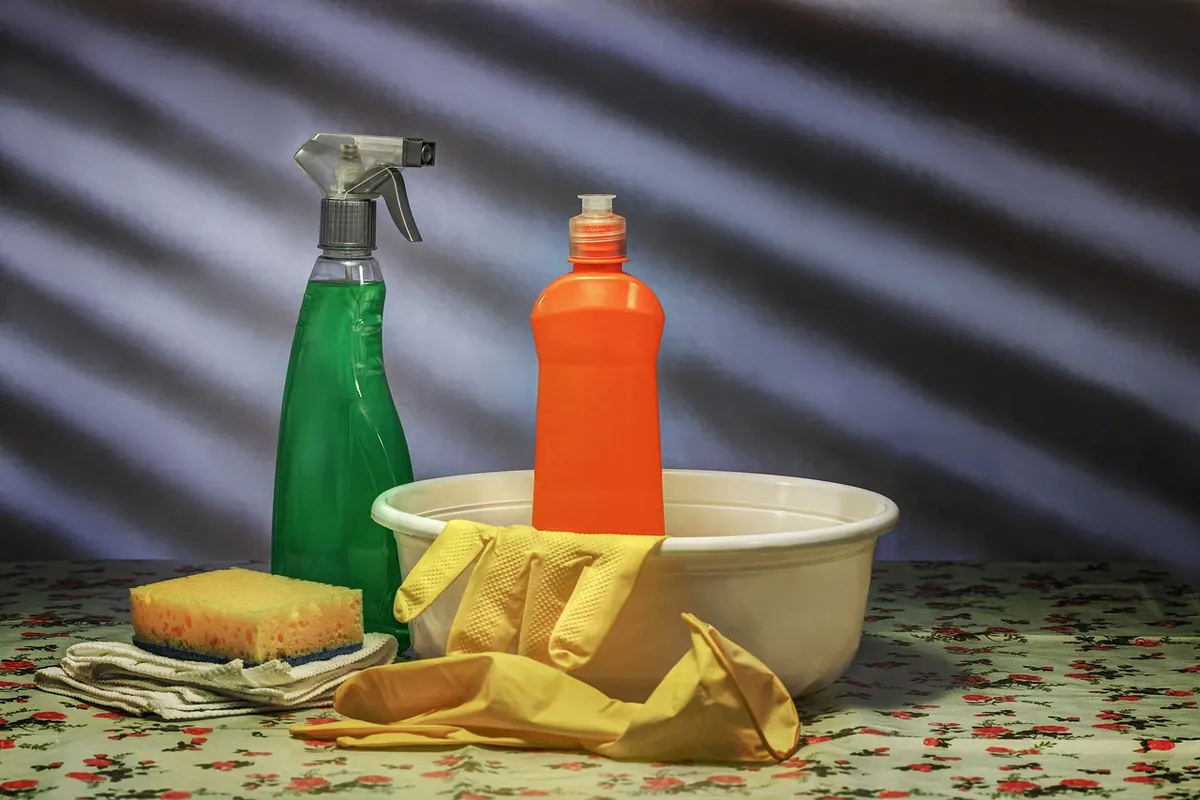
What is worth keeping by the door:
- A soft brush or stiff-bristled nail brush for the soles and tread
- A sponge or microfibre cloth for the upper
- Mild washing-up liquid diluted in a small bucket
- Crumpled newspaper or a dry towel for drying
- A dedicated rubber conditioner for the seasonal session
For lined boots, keep the water on the outside. Neoprene, fleece and wool linings hold moisture, and a soaked lining is the beginning of every smell problem. If the inside needs attention, wipe it with a barely damp cloth and let it dry completely.
Dry Slowly, and Nowhere Near a Heat Source
The most common way people ruin rain boots is by trying to dry them fast. A radiator, an oven, a hot hair dryer, or a sunny windowsill all push the rubber past the point where it wants to be. It can warp the shape, soften the sole bond, and leave the surface brittle. Warm rubber feels fine for a day and then starts to crack.
Instead, stuff each boot with loosely crumpled newspaper or a dry towel. This soaks up interior dampness and holds the shaft upright so it does not fold over. Replace the paper when it feels clammy, usually after an hour or two. Then leave the boots in a cool, airy spot, out of direct sun, ideally with a bit of airflow around them. Twelve to twenty-four hours is normal. Damp boots put away in a cupboard will still be damp tomorrow.
Inside matters as much as outside
Turn the tops down for an hour or so if the boots will allow it, so air can move through the shaft. If your feet sweat heavily or you wear them all day, a wipe of diluted white vinegar on a cloth, then a full dry, keeps the lining fresh. Do not put boots in a tumble dryer or on top of a boiler.
Condition the Rubber Once a Season
Rubber dries out with sun exposure, dirt, and simple use. A thin coat of conditioner restores some of that suppleness and gives the surface a bit of protection against mud staining. Do this after cleaning and once the boots are bone dry, not before.
Use a product made for rubber boots, or a light glycerine-based dressing. Apply a small amount with a soft cloth and work it into the whole upper, paying extra attention to the flex points: the crease where the toes bend, the ankle, and the heel. Wipe off any excess so the boots are not slippery. Test on a hidden patch first if you are unsure how the finish will react.
What to avoid: petroleum jelly, cooking oil, motor oil, and greasy leather dressings. These can swell, soften, or break down rubber over time, and they attract grit. If a product's label does not mention rubber, leave it on the shelf.
Fix Small Problems Before They Grow
Run your hands over the boots every few weeks and look closely at the creases. A shallow surface crack can often be sealed with a flexible rubber adhesive, applied to a clean, dry surface and left to cure properly according to the instructions. A split that runs through the sole seam, or a leak you can feel with your hand inside, means the boot is done. Small repairs are worth doing; a leaking boot on a commute is not worth the optimism.
While you are checking, look at the back pull loops, the buckles, and the insoles. Loops that are pulling away can usually be stitched or glued before they tear out entirely, and replaceable insoles are the cheapest way to make an old pair feel new. If the boots have a removable liner, wash it according to the maker's instructions, separately from the boot.
Store Them So They Keep Their Shape
Where boots live between wears matters more than most people expect. Rubber likes cool, dark and dry. It dislikes heat, sunlight, and being crushed.
- Keep them upright. A boot rack, a shelf, or even a row on the floor beats a heap in the porch.
- Hold the shaft open. Boot shapers, rolled magazines, or a couple of plastic bottles keep the top from folding and creasing.
- Skip airtight plastic bags. Rubber can sweat inside them. A cotton boot bag or an old pillowcase lets air move.
- Avoid hanging by the loop long term. The loop can stretch or tear away from the boot.
- Get them out of the sun. A shed window, a hot car, or a conservatory will age rubber fast.
For a full off-season, clean and condition first, then store. Never pack away a pair that is still damp, and never store them somewhere that freezes hard if you can avoid it.
Keep the Smell Out
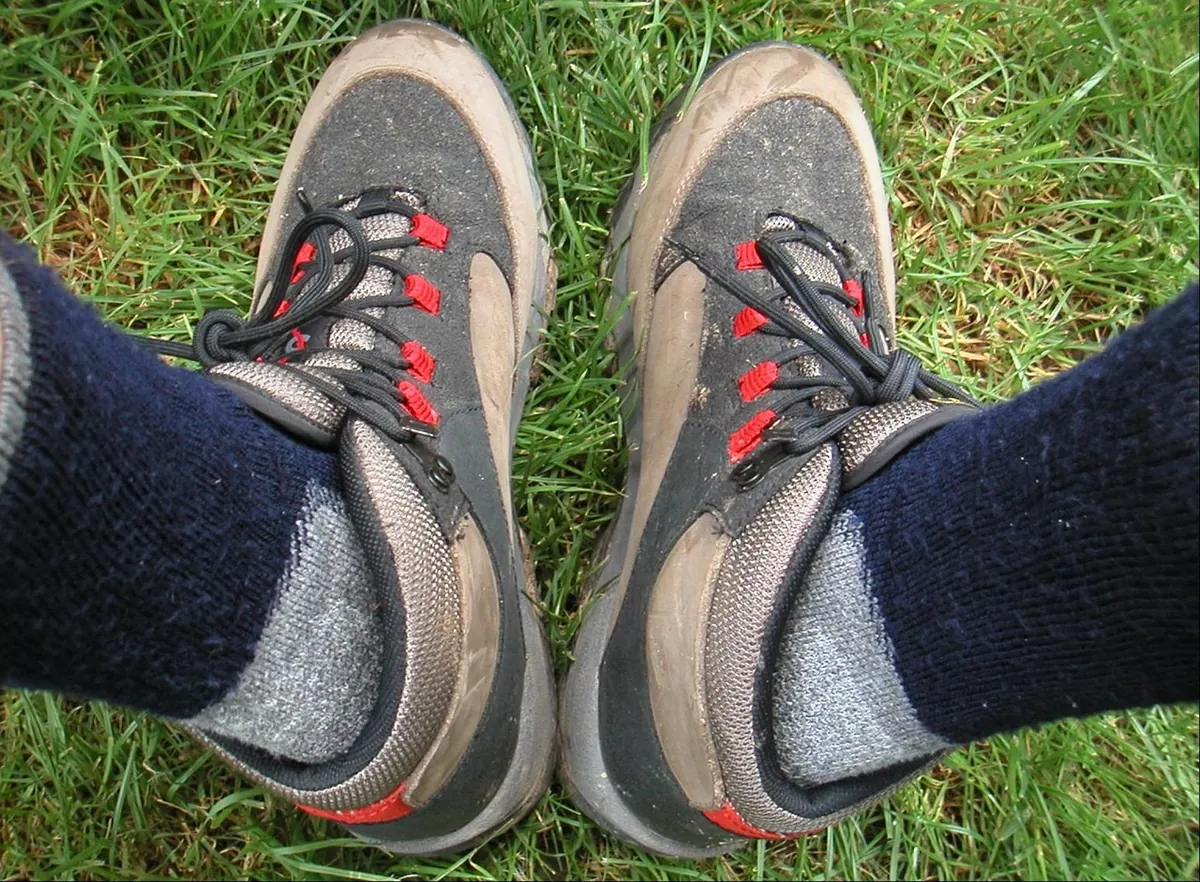
Odour is a moisture problem, not a rubber problem. Bare feet in rubber boots sweat, and that damp lining is exactly where bacteria like to settle. Wearing socks, ideally wool or cotton rather than synthetic, solves most of it. Rotating two pairs so each gets a full day to dry solves most of the rest.
For a lingering smell, sprinkle baking soda inside, leave it overnight, then shake it out and vacuum the lining if you can. A sock filled with dry rice or a small bowl of baking soda left inside the boot between wears also helps. A wipe with diluted white vinegar deals with the surface; only a proper dry deals with the cause. If boots are still damp inside after two days in a warm room, something is trapped in the lining and they need longer out of the cupboard.
A Routine That Actually Sticks
Weekly during wet months: rinse the mud, wipe the surface, dry them out of the sun. Monthly: check the flex points and wipe the inside. Once or twice a year: deep clean, condition, store properly. That is the whole system.
Do the boring part well and the boots will reward you. They will stay soft enough to pull on without a fight, dark enough to look smart after a season of muddy walks, and sealed well enough that the puddle you misjudge on a Tuesday morning stays where it belongs.
Photo: 6653167 / Pixabay