
Most gardening wellies don't wear out so much as get worn out. A season of yanking them off with the opposite foot, leaving mud to bake on in the sun, and storing them behind a hot boiler will shorten their life faster than any amount of digging. The irritating part is that the same habits that ruin boots also leave your feet throbbing by mid-morning. Fix a few small things — how they fit, how you take them off, where they sit between uses — and you'll get years more wear and considerably happier feet.
Mistake 1: Buying to your shoe size instead of your gardening socks
Rubber has almost no give in it. A boot that feels pleasantly snug in the shop will feel like a clamp after an hour of crouching, lifting and kneeling. If you buy in January in thin socks and then wear thick wool socks in March, the same pair will either swim around your heels or squeeze your calves, depending on which way you sized. Decide on the socks first, then buy the boot.
How to check the fit before you pay
- Toe room: you want roughly a thumb's width between your longest toe and the front of the boot. Toes that touch the end will bruise on slopes and downhills.
- Heel lift: a little movement is normal; a heel that slides up and down with every step will rub the skin off within an afternoon.
- Calf width: you should be able to slide two fingers down inside the top of the shaft. Anything tighter will restrict circulation and feel cold, even in summer.
- Timing: try boots on late in the day when feet are at their largest, and wear the socks you actually garden in.
- Between sizes? Size up and add an insole rather than squeezing into the smaller pair. You can fill space; you can't create it.
Mistake 2: Treating a rubber sole as finished footwear
Most wellies are a thin layer of rubber with a tread pattern pressed into it. There's no shank, no cushioning and no arch. On soft, forgiving soil you can get away with that. On a concrete path, a gravel drive, or standing in one spot at a raised bed for an hour, that flat sole is what makes your heels and arches ache. Gardeners often blame their knees or their age when the real culprit is underfoot.
The cheapest upgrade is a removable insole. Look for a boot with a removable footbed so you can swap in a supportive insole, or your own orthotics if you wear them. If you're replacing boots anyway, prioritise a sole with a defined heel and a deeper tread — it costs little more and takes the sting out of paths and steps. And if you have ongoing foot, knee or hip pain, or you live with diabetes or circulation problems, get advice from a podiatrist or your doctor rather than deciding to push through it.
Mistake 3: Letting mud dry before you clean it
Caked mud in the ankle creases hardens into something close to sandpaper. Every step flexes the boot, and the dried grit grinds away at the rubber from the inside of the fold. That's where splits start — not on the toe, but in the crease above the heel. Clean while the mud is still soft and you avoid most of it.
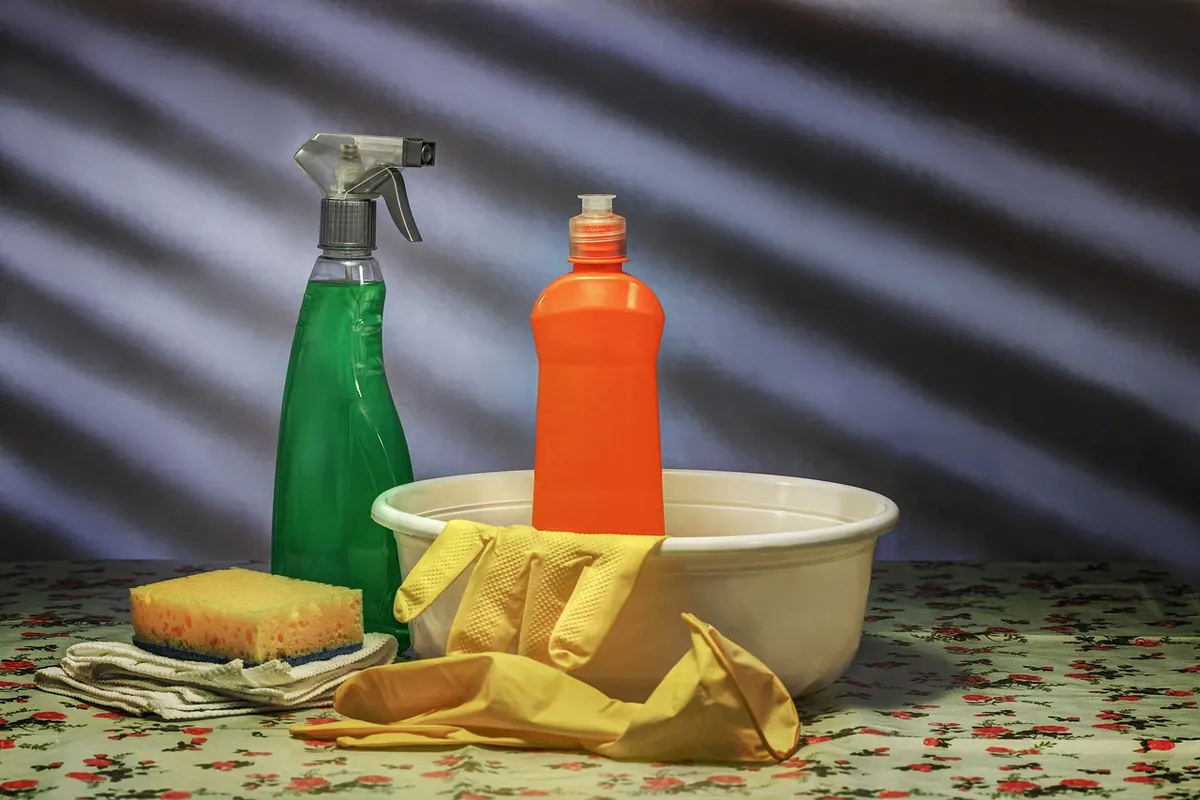
Rinse with lukewarm water and a soft brush, inside and out, then wipe dry with a cloth. A drop of mild washing-up liquid handles greasy soil. What you shouldn't do: hot water, bleach, wire brushes, the dishwasher, the washing machine, or a pressure washer held close to the surface. All of them shorten the life of the rubber.
Mistake 4: Drying them somewhere warm and storing them somewhere grim
Boots parked against a radiator, on top of a boiler or in the boot of a car on a sunny day will stiffen and crack. Rubber doesn't like sustained heat or ultraviolet light. Dry them at room temperature, upside down so water drains out of the toe, and stuff the shafts with crumpled newspaper. Change the paper when it's damp — overnight is usually enough.
For storage, dark, dry and upright is the rule. A boot rack keeps the shafts standing so they don't fold and crease. If you hang them, hang from the heel or use a proper hanger so the weight isn't pulling on a thin loop. Avoid leaving them on a damp shed floor, squashed under a pile of other boots, or pressed against the back window where the sun reaches them. A dry, dark shelf costs nothing and adds seasons.
Mistake 5: A few gardening habits that do quiet damage
- Stepping on the heel to remove them. This is the single most common way to wreck a pair. The heel counter stretches and splits. Use your hands, a boot jack, or sit down and lever them off properly.
- Kneeling for hours. Tall shafts crease hard at the ankle every time you kneel. If most of your work happens at ground level, a shorter boot or one with a flexible ankle panel will last longer and feel better.
- Wearing them for cement, lime and chemicals. These attack rubber and shorten its life. Keep a separate, older pair for building jobs.
- Walking long distances on tarmac and gravel. It wears treads flat quickly. Change into shoes or trainers for the trip to the shed and back.
Mistake 6: Ignoring what's happening inside the boot
Rubber doesn't breathe, so sweat has nowhere to go. Cotton socks soak it up and hold it against your skin, which is a reliable recipe for blisters, cold feet in winter and fungal trouble in summer. Wool or technical walking socks move moisture away and cushion the spots where a rubber boot rubs.
If you garden most days, two pairs of wellies rotated is better than one pair worn constantly — each pair gets a full day to dry out. A boot dryer on a low, unheated setting helps; a hair dryer on hot does not. Sprinkle a little bicarbonate of soda inside between wears if odour becomes a problem, and shake it out before you put them on.
A five-minute routine worth keeping
When you come in from the garden, knock the worst of the soil off, rinse the boots with lukewarm water, and stand them upside down to drain. Once a week, give them a proper wash, dry them at room temperature, and put them back on a rack in a dark, dry spot. Check the ankle creases with your thumbs now and then — if you can see fine cracks starting, that pair is telling you it's time to become the cement-mixing boots. Do this and a decent pair of wellies should see you through several seasons of real work, with feet that don't complain about it.
Photo: Thirdman / Pexels